Showing posts with label Differentiation. Show all posts

Thursday, June 30, 2016

Trigonometry Task Cards

Towards the end of this past school year, my Geometry students were working on Right Triangle Trig.  Trig is not an easy concept for them to grasp and I had to think of ways to help make it easier for them to understand the process.  Trig has always been a challenge for my students and each time I teach it I go into this unit hoping for the best (because I love it!) but fearing the worst (They don't love it!).  They always get so frustrated and give up so quickly because they view it as being too difficult for them to learn.  In the end, many see the light and realize it wasn't as bad as they thought it would be, while some don't budge and remain struggling.

I had originally made these task cards for my class to use as practice this year but it was something I never had the time to finish up.  The end of this school year was a rough one and everyone was doing their best to keep their heads above water.  So needless to say I never got to use them but plan to this year with my new Geometry students.

Had I actually had the chance to use them I would have used them in one of the following ways:

Option #1 Students work in teams (my room has 4 large tables) and each team would get a task card from each page, work it out together and pass them around until they did all 4 then we would pass out the next page.  All students would complete all problems.

Option #2 Put the cards randomly though out my classroom, have students work in pairs and work their way around the room until they have completed all the problems.

Option #3 Put all cards in a bucket, have students work in small groups, they come up and draw a card out of the bucket and work it out with their team. The only downside to this option is that there is a chance some groups might not get a card from each page so they won't get practice from that kind of problem.

Well here are the cards...Let me know if you have any other ideas for options.  If you use them with your students let me know how it works out!


If you would like your own set here are the links.  If you blog or tweet about my task cards please reference where you got them from.


Monday, August 17, 2015

Assigned Seating Problems and Groupings


When it comes to seating arrangements in my classroom I'm a groups/pods/tables/etc. kind of teacher.  I try to instill in my students a sense of collaboration and teamwork.  I love when they work together to solve problems and enjoy seeing students helping and supporting one another.  The only issue I find with groups is that I tend to only have the students work with those in their group.  I hate deciding who is going to work with who and I needed to find a different way to do things.

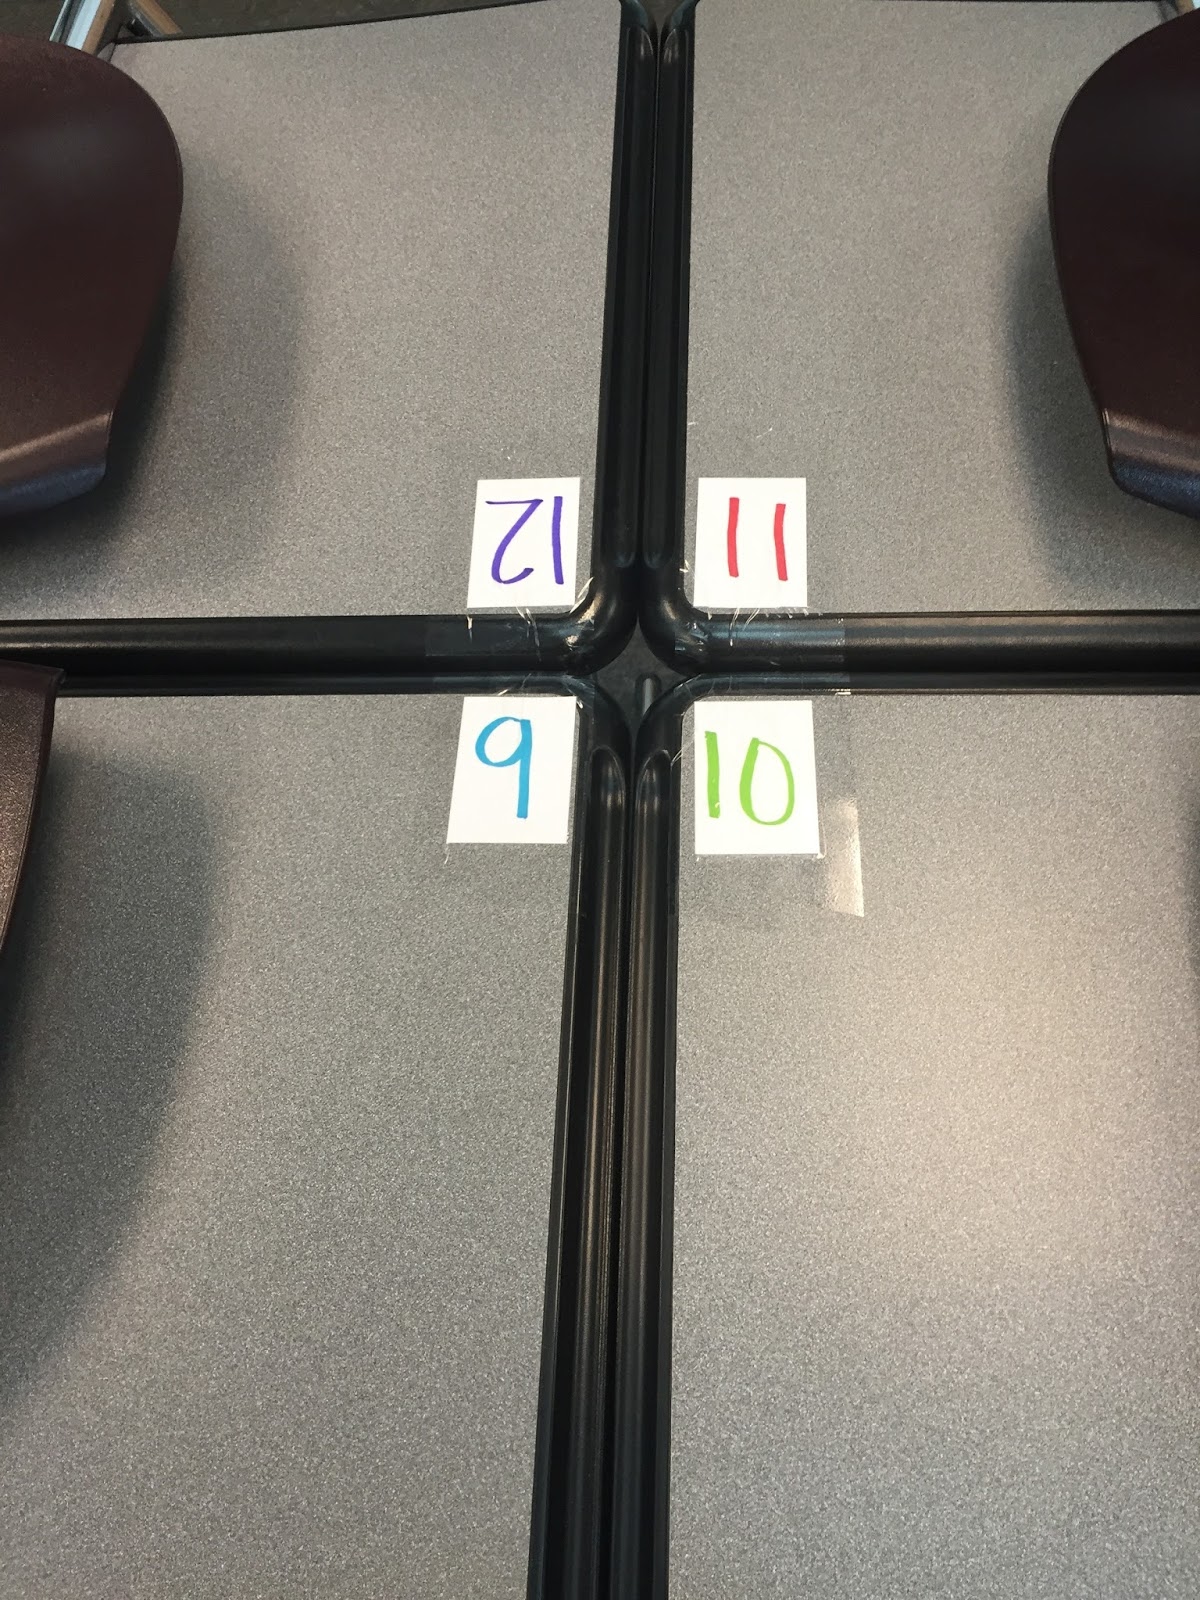
A fellow coworker of mine numbers her desks, this way when it is time to assign students to a seat she gives them a number and they find their desk rather than trying to give them directions to their desk which they inevitably never locate correctly.  So I decided to do that this year, but being the teacher that I am I had to make it different and my own (not that there was anything wrong with her method, but she's an English teacher so she didn't see the Math possibilities behind this genius idea).  

Here is what I did…

I have 24 desks in my room and I put them into 6 groups of 4 desks.  Each desk is numbered 1-24 using a blue, green, red, purple pattern (repeated for all 6 groups).  I then created a seating chart like I normally would but put their number and color in each box.  I made sure that for each of my classes I had the same number of kids sitting in each color seat.  

On the 1st day of school, I always greet the students in the hallway making sure they are in the right class and helping others find their way around.  HERE IS THE MATH BEHIND THIS GENIUS IDEA!! This year I will be giving each of my students an index card that has a math problem on it with their name.  The answer to their problem lets them know what number desk they are assigned to.  I'm excited about starting with math as soon as they walk in the door!  I differentiated the problems on the cards based on the ability level of my students (the ones I've had before) I focused on solving linear equations but for my freshmen I gave them Order of Operation problems since this is a skill I know their former teacher was working on with them.  Some of my other ideas to shake up my groups is to have them work with their same color peers, maybe do even and odds, greens with purples and reds with blues, etc.  Can't wait to see how this goes on Wednesday for our 1st day of school!

Thursday, December 18, 2014

Standards Based Grading

Just a WARNING, this is going to be a long post...

So I started doing Standards Based Grading (SBG) at the beginning of last school year.  At this point I have 1.5 years under my belt and I still keep making changes.  The one thing that hasn't changed is my policies or my grading rubric.

My policy/rubric are a combination of ideas from Jessica over at Algebrainic, Rick Wormeli, my good friend and former co-worker Terie at Crazy Teacher Lady, oh and my own insane ideas.  It took me over a year to get everything figured out before I actually started implementing it into my classroom.

How is SBG different from Traditional Grading?

  • Student's grades are only based on their assessments over the standards (this is different based on which policy you use)
  • Scores in the grade book change as students understanding changes. 
  • Grades are not final until the end of the semester/year.
  • Some students obtain a score of master sooner than others.
  • If students are struggling they get more individual/small group instruction.
  • Grade is a direct representation of student learning.

Grading Rubric:

5
You have completely mastered the skill on two skill assessments, meaning you received two 4’s, which makes your overall skill score a 5.  You have completed this skill. You “get” it!
4
You have demonstrated a thorough understanding of the concepts involved, have clearly showed all steps of your reasoning, have used notation correctly, wrote exemplary and clearly, and have made no mathematical errors. You can not only solve beginning problems and multi-concept problems, but you can solve Application, ACT and PARCC questions related to the concept.
3
You have a firm grasp of the skill, meaning you have demonstrated a full or almost understanding of the concepts involved, but you may have not shown steps of your reasoning, didn’t use notation totally consistently, and made a slight (but non-fatal) mathematical error.  You still need help with this skill. You can not only solve beginning problems, but you can take previously taught concepts and apply them to new problems.
2
You have demonstrated some understanding of the skill.  You may have some confused reasoning, did not completely answer the question, did not use consistent notation, made more than one (non-fatal) mathematical errors. You still need help with this skill. You can solve beginning problems on your own without any help.
1
You have demonstrated weak or no conceptual understanding.  You may have confused reasoning, or made one or more serious (fatal) mathematical errors.  You still need a lot of help with this skill.  You need assistance in order to solve beginning problems.
0
You left the problem blank; no attempt was made to solve the problem.  

How does it all work?
  1. Students at the beginning of each unit are pre-assessed, not only on what we will be learning but the prerequisite skills they need for that unit. 
  2. The assessments are scored and the students enter that score into their folders. (we will get to those later!)  I also enter those into the grade book, however they don't count towards the students grade it's just so I can see where they started at and where they ended at.
  3. Based on those scores I break my students up into group and the learning process begins.
  4. Notes on the content are given using our ISN's, and then activities are given based on their level of knowledge.
  5. Once students understand the content they are given a "Progress Check" to see where they are at.  If they score a 4, many will practice and try for a 5 right away.  Some wait awhile. I consider "Mastery" if they get to a level 3.
  6. Students that get a mastery score, level 3 or higher, move onto the next concept, students that don't participate in re-teaching, additional activities, etc.  Once they are ready they will take another Progress Check and the cycle beings until they reach mastery.
  7. The Progress Checks are scored and each score is entered into their folder, even if they have multiple scores.  The score on their most current Progress Check is the one entered into the grade book, even if it's lower than the previous one.
  8. This repeats for every unit!
Things I've Learned...
  • When you think you have everything figured out, you'll make changes!
  • Keep students constantly informed of how they are doing.  This is something I learned after my 1st year.
  • Make multiple versions of your progress checks.  TRUST ME YOU WILL NEED THEM!  I have about 4-5 different progress checks on Solving Equations.
  • Have students set a realistic goal for themselves in each unit.  It can help keep them motivated.

Thursday, July 24, 2014

Whiteboard Folders

The unit my students struggle with the most in Algebra is Writing Linear Equations.  Even though the concept of only needing the Slope and Y-intercept to write the equation is a pretty straight forward concept my students struggle because of all the different types of problems they come across.  They are never to sure which method they need to use.

Since all of my students are at different levels, some understand the more basic problems but struggle with the harder ones, and some are completely lost.  This is defiantly a unit I have to differentiate for my students.  So I came up with these whiteboard folders for all of the different Writing Linear Equation problems they will come across.

Supplies you'll need:
Colored Paper, Laminator, Manilla Folder, Scissors, Hot Glue Gun, Marker


How to make the folders…

1st: I hot laminated colored paper.
2nd: Cut almost all of the front cover of the folders off, leaving about 3 inches (this give the kids enough room on the laminated paper to do the work).
3rd: Hot glued the laminated colored paper to the inside of the folder.


4th: On the cut front cover I numbered and wrote out the problems, one type of problem per folder.
5th: Cut the front cover so each problem is it's own flap.


6th: On the inside of the flap write the answer to each problem.


7th: The folder tab has what type of problems they are on it.


I made folders for problems when you have the Slope and Y-Intercept, Slope and One Point, From a Graph, Two Points, Parallel Lines and Perpendicular Lines.  The students wrote on the laminated paper using a dry erase marker and wipe them clean.  These folders allowed students to practice and get immediate feedback by checking their own answers.  I've also used them where students pair up, one is the teacher the other is the student.  While one student works the problem out on a regular whiteboard the "teacher" can check the "students" answers using the folder.
Related Posts Plugin for WordPress, Blogger...